The Step by Step Guide to Renovating a Victorian Property
Victorian homes are beautiful.
High ceilings. Bay windows. Original fireplaces. Character you simply cannot replicate.
But behind the charm, there are often hidden challenges.
If you are renovating a Victorian property, you need a structured approach. Done properly, you protect its history while upgrading it for modern living.
Here is how to do it step by step.
Step 1 – Carry Out a Full Survey
Before lifting a single floorboard, understand what you are buying into.
Victorian houses commonly suffer from:
- Damp issues
- Timber rot
- Movement cracks
- Outdated wiring
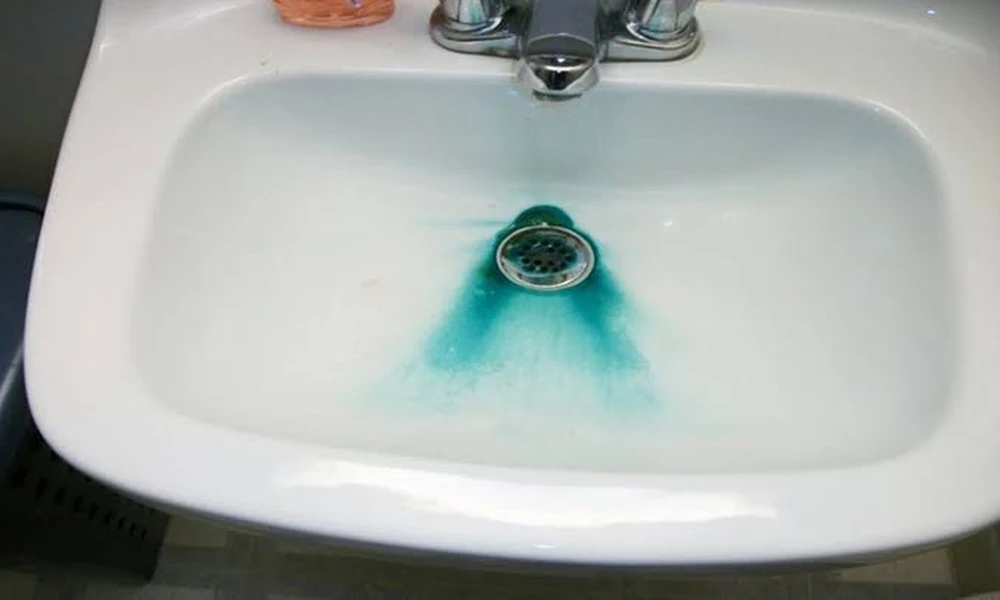
- Ageing drainage systems
A proper building survey highlights structural concerns early. Pay particular attention to drainage. Clay pipes used in the Victorian era often crack or collapse over time.
It is far cheaper to identify issues before renovation begins.
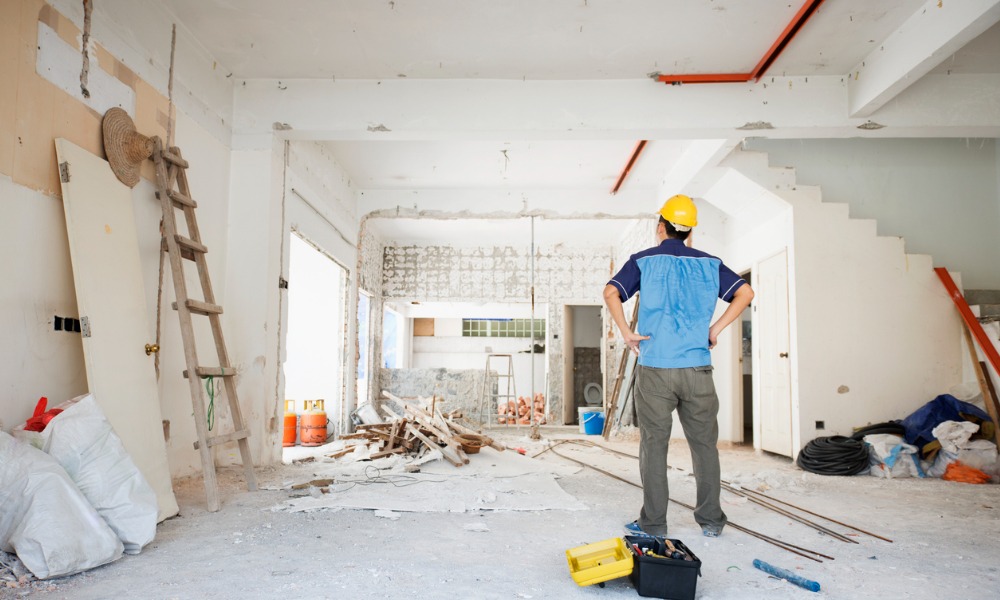
Step 2 – Check Structural Integrity
Once work starts, hidden details appear.
Inspect:
- Joists and floorboards
- Roof timbers
- Load-bearing walls
- Chimney breasts
Victorian homes were built solidly, but age takes its toll. Reinforce where necessary, rather than replacing unnecessarily.
Preserve original features wherever possible.
Step 3 – Upgrade Drainage and Plumbing
If you are installing new bathrooms or reconfiguring layouts, modern drainage is essential.
Old systems may not handle increased demand.
Replacing or relining drainage pipes during renovation prevents disruptive excavation later.
While floors are lifted, update plumbing at the same time.
It is easier and more cost effective now than in five years.
Step 4 – Modernise Electrics Safely
Victorian properties were never designed for today’s electrical load.
Full rewiring is often necessary.
Add sufficient sockets, modern lighting circuits and energy-efficient solutions while walls are open.
Safety must come before aesthetics.
Step 5 – Address Damp Properly
Many Victorian homes lack modern damp proof courses.
However, not all damp requires drastic treatment.
Investigate causes carefully:
- Blocked air bricks
- Poor ventilation
- Leaking gutters
- Faulty drainage
Fix the root cause, not just the symptom.
Breathable materials are usually more suitable than modern impermeable finishes.
Step 6 – Restore Period Features
This is where the property comes alive.
Retain and restore:
- Original fireplaces
- Cornicing
- Ceiling roses
- Timber doors
- Sash windows
Skilled trades make a difference here. A professional painter like A2 Builders experienced in period properties understands how to prepare older surfaces without damaging character.
Modern gloss slapped onto original woodwork rarely does justice to Victorian craftsmanship.
Step 7 – Improve Insulation Sensibly
Victorian homes were not built with insulation in mind.
Add insulation where possible without compromising breathability.
Options include:
- Loft insulation
- Underfloor insulation
- Secondary glazing
- Internal wall insulation
Be careful not to trap moisture within solid walls.
Balance energy efficiency with building health.
Step 8 – Choose Finishes That Respect the Era
Victorian design suits rich tones and traditional materials.
Consider:
- Timber flooring
- Heritage paint colours
- Traditional tiles
- Cast iron radiators
Work with your painter to select finishes that enhance architectural features rather than overpower them.
Step 9 – Plan Your Budget With Contingency
Victorian renovations often reveal surprises once floors and walls are opened.
Set aside at least 15 percent contingency.
Unexpected drainage repairs, timber replacement or structural reinforcement are common.
Preparation protects your finances.
Renovate With Care, Not Haste
A Victorian renovation is not just a building project.
It is restoration.
Respect the structure. Modernise thoughtfully. Upgrade drainage and services properly. Use skilled trades who understand period detail.
When handled carefully, a Victorian home becomes the perfect blend of heritage and modern comfort.
Take it step by step – and preserve what makes it special.